
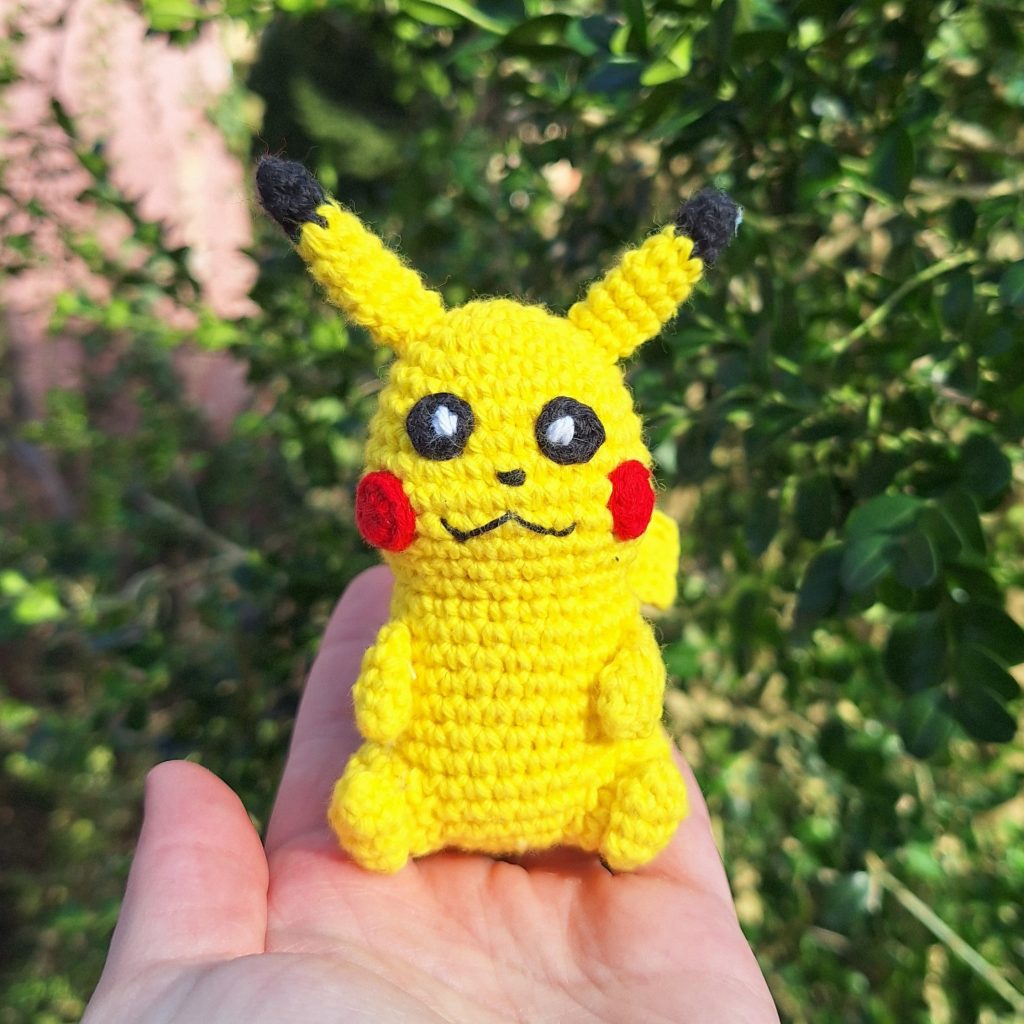
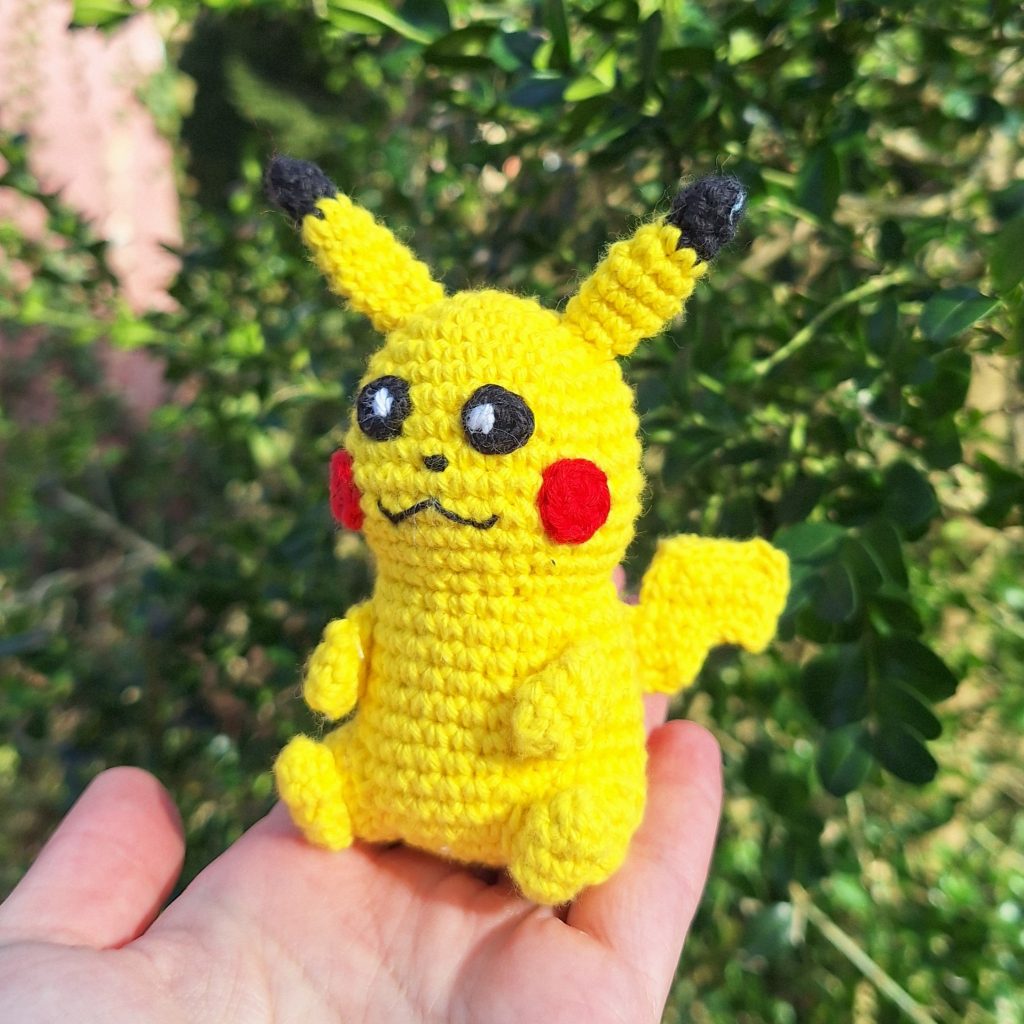
Pikachu, the electrifying Electric-type Pokémon, needs no introduction! With its iconic yellow fur, rosy cheeks, and lightning bolt-shaped tail, Pikachu has captured the hearts of Pokémon fans worldwide since its debut in the Pokémon series! And with this free crochet pattern, you can create your own amigurumi Pikachu!
In addition to its captivating appearance and impressive battling prowess, Pikachu is cherished for its endearing personality. Known for its loyalty, courage, and mischievous antics, Pikachu has formed a special bond with its trainer, Ash Ketchum, and has become an enduring symbol of friendship and companionship in the Pokémon world.
This pattern is using standard amigurumi stitches, and is therefore easy to follow and make. So anyone should be able to make up this Pikachu! In the bottom of this site you will also find a pattern for various costumes for Pikachu – you’ll find a Pumpkin head/hat and a Santahat to make Your crochet Pikachu festive!
Supplies you'll need to crochet Pikachu
General supplies:
- Crochet hook 2,5 mm, I always use clover amour hooks for my projects!
- Sewing needle
- Stuffing
- Stitch marker
With Amigurumi you guage doesn’t matter much. Using smaller hook and yarn will make you finished Pikachu smaller, and bigger hook and yarn will make him bigger. Just make sure that your yarn and hook fits together and makes a tight fabric so the stuffing won’t show through!
With the recommended yarn below the Pikachu is about 12 cm or 4,5 inches tall.
I reccomend Hobbii Rainbow cotton 8/4. This yarn is a 100% cotton and very nice to work with! With this yarn, I use a 2,5 mm hook (or a B-1 or C-2 should work too!). If Rainbow cotton is sold out, I can also recommend Friends cotton from Hobbii as a direct substitute.
- 1 x yellow (54)
- A bit of black for ears, eyes and facial detail
- A bit of red and white for facedetails
- a bit of an orange color for the base of the tail
Abbreviations in this crochet pattern
Rnd = round
mr = magic ring
sc = single crochet
inc = increase, 2 sc in the same stitch
dec = decrease, make 2 stitches into 1
ss = slip stitch
BLO = Back Loop Only
FO = Finish Off chain
Pikachu crochet pattern
Head and body
In yellow
Rnd 1: 6 sc in mr (6)
Rnd 2: inc x 6 (12)
Rnd 3: (sc, inc) x 6 (18)
Rnd 4: (3sc, inc, 4sc, inc) x 2 (22)
Rnd 5: (4sc, inc, 5sc, inc) x 2 (26)
Rnd 6: (4sc, inc, 6sc, in, sc) x 2 (30)
Rnd 7-8: sc around (30)
Rnd 9: 5sc, inc x 2, 7sc, inc x 2, 14sc (34)
Rnd 10-11: sc around (34)
Rnd 12: 6sc, dec, 8sc, dec, (6sc, dec) x 2 (30)
Rnd 13: (6sc, dec, 5sc, dec) x 2 (26)
Rnd 14: (5sc, dec, 4sc, dec) x 2 (22)
Rnd 15: in FLO, (inc, 4sc, inc, 5sc) x 2 (26)
Rnd 16-17: sc around (26)
Rnd 18: (inc, 5sc, inc, 6sc) x 2 (30)
Rnd 19-21: sc around (30)
Rnd 22: (2sc, inc, 6sc, inc, 5sc) x 2 (34)
Rnd 23: sc around (34)
Rnd 24: (2sc, dec, 6sc, dec, 5sc) x 2 (30)
Rnd 25: (3sc, dec) x 6 (24)
Rnd 26: (sc, dec, sc) x 6 (18)
Rnd 27: (sc, dec) x 6 (12)
Rnd 28: dec x 6 (6)
FO
Eyes
In black
Rnd 1: 4 sc in mr (4)
Make a ss and FO. Embroider white highlights.
Make 2 eyes
Cheeks
In red
Rnd 1: 8 sc in mr (8)
Make a ss and FO.
Make 2.
Ears
Start with black
Rnd 1: 4 sc in mr (4)
Rnd 2: (sc, inc) x 2 (6)
Rnd 3: sc around. In last stitch change color to yellow. (6)
Rnd 4: sc around (6)
Rnd 5: (inc, 2sc) x 2 (8)
Rnd 6-8: sc around (8)
Rnd 9: (dec, 2sc) x 2 (6)
Make a ss and FO, leaving tail for sewing.
Make 2 ears.
Tail
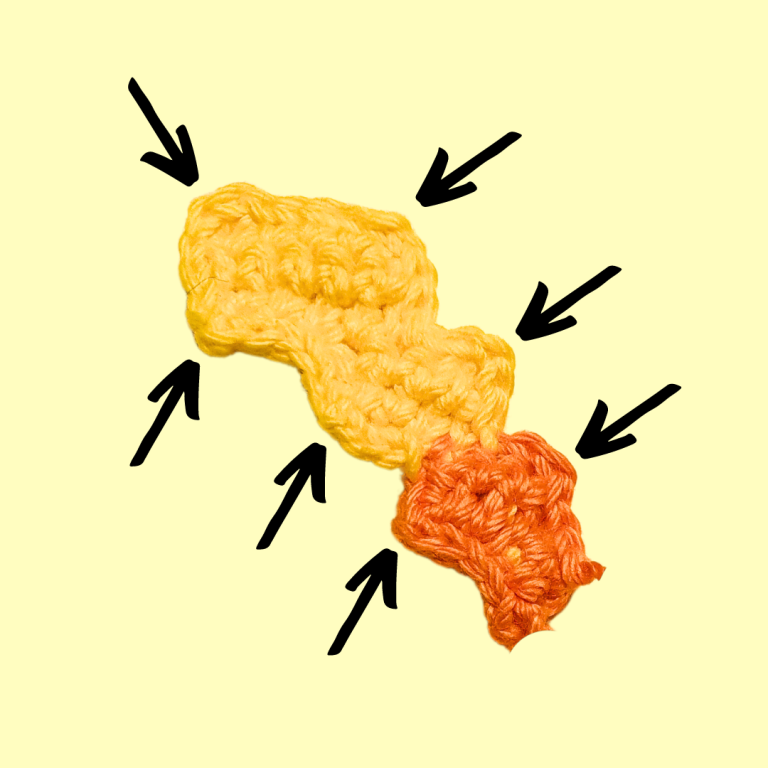
The tail is worked in 2 pieces that are connected by ss around them. This is done to give the tail more stability. The pieces are made in rows.
Start with orange or brown
Chain 3, turn
Row 1: in 2nd st make a sc, sc, ch 3, turn
Row 2: sc in 2nd st, 2sc, ch 1, turn
Row 3: 3sc, change color to yellow and ch 4, turn
Row 4: sc in 2nd st, 3sc, ch 1, turn
Row 5: 4sc, ch 4, turn
Row 6: sc in 2nd st, 4sc, ch 1, turn
Row 7: 5sc, ch 1, turn
Row 8: 5sc, FO
Make 2 pieces and put them together. Connect orange yarn at the beginning of the tail and ss around the tail going through both pieces at once. Change yarn to yellow when needed. In the corners of the tail (highlighted with arrows, those pointing outwards), put 2 sc instead of a ss. This will emphasize the shape of the tail.
Arms
In yellow
Rnd 1: 6sc in mr (6)
Rnd 2-4: sc around (6)
Stuff the arm and fold the piece and sc through both layers. FO leaving tail for sewing.
Make 2.
Legs/thighs
In yellow
Rnd 1: 6 sc in mr (6)
Rnd 2: (inc, sc) x 3) (9)
Rnd 3: inc x 3, 6sc, (12)
Rnd 4: sc, inc x 4, 7sc (16)
ss and FO, leave tail for sewing.
Make 2.
Feet
In yellow.
Rnd 1: 6 sc in mr (6)
Rnd 2-3: sc around (6)
Rnd 4: dec, 4sc (5)
FO leaving tail for sewing.
Make 2
Santa hat for Pikachu
In red
Rnd 1: 4 sc in mr (4)
Rnd 2: (sc, inc) x 2 (6)
Rnd 3: sc around (6)
Rnd 4: (sc, inc, sc) x 2 (8)
Rnd 5: (3sc, inc) x 2 (10)
Rnd 6: (2sc, inc, 2sc) x 2 (12)
Rnd 7: 5sc, inc x 2, 5sc (14)
Rnd 8: 6sc, inc x 2, 6sc (16)
Rnd 9: 7sc, inc x 2, 7sc (18)
Rnd 10: 7sc, ch 6, skip 4 stitches, 7sc (20) (this makes up the hole for his ear)
Rnd 11: (4sc, inc, 5sc) x 2 (22) (work in the chain from last rnd)
Rnd 12: sc, (6sc, inc) x 3 (25)
Rnd 13: (7sc, inc) x 3, sc (28)
FO the red.
The brim is made with white. It is worked from the wrong side. Connect white yarn at the back of the hat on the wrong-side.
Rnd 14: (dc, ss) x 14 (28)
FO the white and weave in all ends.
For the pom-pom, you can either create a mini-pom-pom, or follow the pattern below and sew the ball on top of the hat.
In white
Rnd 1: 6sc inc mr (6)
Rnd 2: inc x 6 (12)
Rnd 3: sc around (12)
Stuff lightly if you want to.
Rnd 4: dec x 6 (6)
FO and sew it onto the Santa hat.
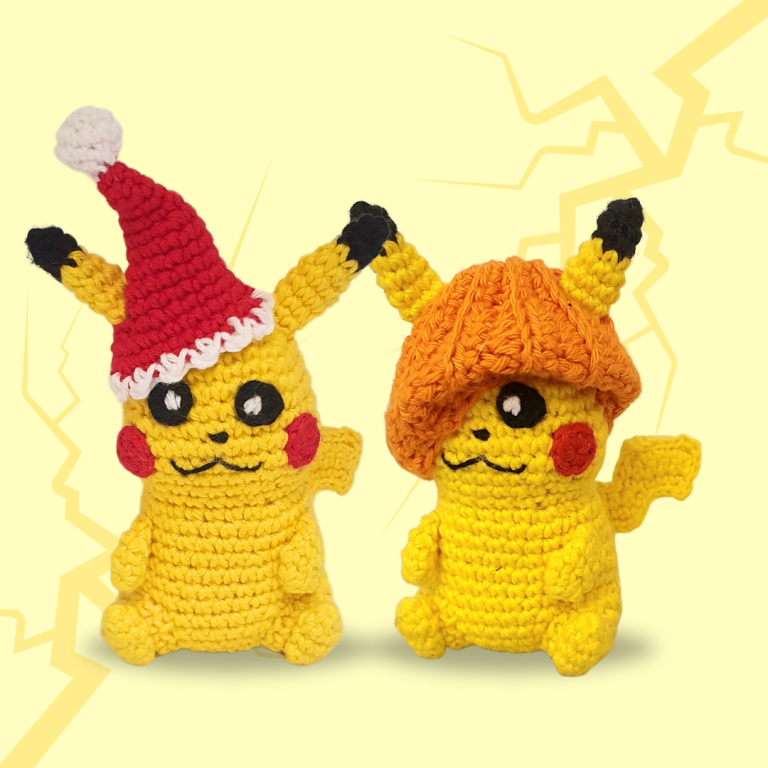
Pumpkin hat/head for Pikachu
If you want, you can add a pumpkin head/hat to Pikachu!
Assemble the Pikachu first for best results. The Pumpkin is worked in rows and sinched at the top in the end. Chain 16 with orange and repeat the following 2 rows
Row 1: 2ss, 4sc, 8 hdc, 2sc, ch 1, turn
Row 2: 2sc, 8hdc, 4sc, 2ss, turn
Be sure to add in holes for the ears as follows. Measure your piece on Pikachus head. The chain-start is at back of his head. When you reach the first ear, mark the 3 stitches that fit the size of the ear. On your next row, instead of doing the st in the pattern, skip the 3 marked stitches and chain 3. On the following row, continue as normal using the chains. Repeat on 2nd ear. ss or sew the back shut and sinch the top with yarn. FO.
Assembly of your crochet Pikachu
Attach all pieces to your Pikachu. To help with placement be sure to pin the pieces in place before you sew and to be sure limbs are aligned.