
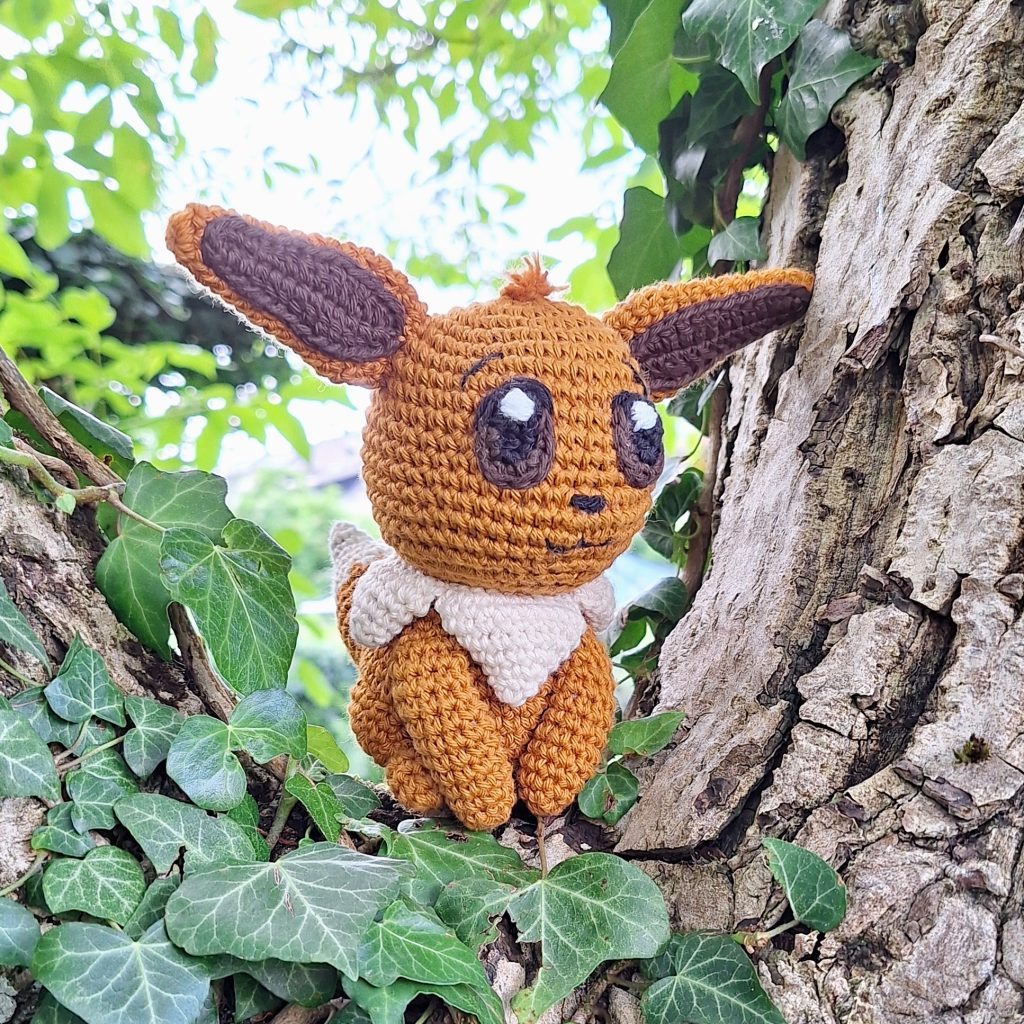
Get ready to crochet one of the most beloved Pokémon with this Eevee crochet pattern! This amigurumi pattern captures the charm and versatility of Eevee, the Normal-type Pokémon known for its fluffy tail, expressive eyes, and friendly demeanor.
This crochet pattern is perfect for crocheters with some amigurumi experience as this pattern has an intermediate difficulty. This pattern includes working around a chain, a fair amount of sewing and color-changes. Clear instructions will guide you through each step, ensuring a smooth and enjoyable crafting experience.
Creating Eevee is a delightful journey as you bring its adorable form to life stitch by stitch. The crochet pattern beautifully highlights Eevee’s signature features, from its large, pointed ears to its bushy tail and cream-colored fluff.
Supplies you'll need to crochet Eevee
General supplies:
- Crochet hook 2,5 mm, I always use clover amour hooks for my projects!
- Sewing needle
- Stuffing
- Stitch marker
With Amigurumi you guage doesn’t matter much. Using smaller hook and yarn will make you finished Eevee smaller, and bigger hook and yarn will make him bigger. Just make sure that your yarn and hook fits together and makes a tight fabric so the stuffing won’t show through!
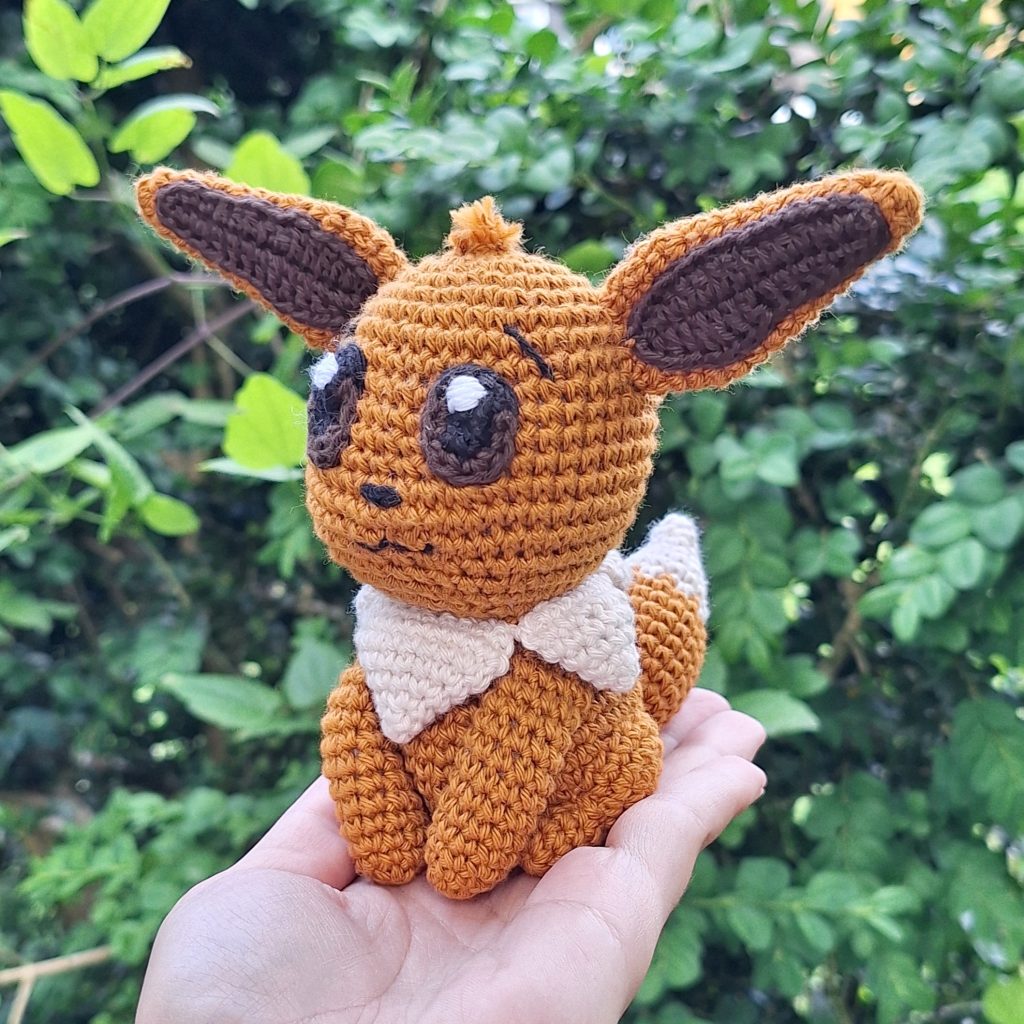
Using the recommended yarn below, your Eevee will be about 12 cm/5 inches tall.
I reccomend Hobbii Rainbow cotton 8/4. This yarn is a 100% cotton and very nice to work with! With this yarn, I use a 2,5 mm hook (or a B-1 or C-2 should work too!). If Rainbow cotton is sold out, I can also recommend Friends cotton from Hobbii as a direct substitute.
- Brown (i used the ochre color)
- a cream or beige color
- a dark brown
- a bit of black and white for eyes and facial features
Abbreviations in this crochet pattern
Rnd = round
mr = magic ring
sc = single crochet
hdc = half double crochet
dc = double crochet
inc = increase, 2 sc in the same stitch
dec = decrease, make 2 stitches into 1
ss = slip stitch
ch = chain
FO = Finish Off
Eevee crochet pattern
Head
In brown
Rnd 1: 6 sc in mr (6)
Rnd 2: inc x 6 (12)
Rnd 3: (sc, inc) x 6 (18)
Rnd 4: (sc, inc, sc) x 6 (24)
Rnd 5: (3sc, inc) x 6 (30)
Rnd 6: (2sc, inc, 2 sc) x 6 (36)
Rnd 7: (5sc, inc) x 6 (42)
Rnd 8-13: sc around (42)
Rnd 14: 6sc, 4 inc, 32sc (46)
Rnd 15: sc around (46)
Rnd 16: 8sc, 2 dec, 34sc (44)
Rnd 17: 6sc, dec, 2sc, dec, 32sc (42)
Rnd 18: (5sc, dec) x 6 (36)
Rnd 19: (2sc, dec, 2sc) x 6 (30)
Rnd 20: (3sc, dec) x 6 (24)
Rnd 21: (sc, dec, sc) x 6 (18)
Rnd 22: (sc, dec) x 6 (12)
Rnd 23: dec x 6 (6)
Cut yarn, close the head and hide tail.
Body
In brown
Rnd 1: 6 sc in mr (6)
Rnd 2: inc x 6 (12)
Rnd 3: (sc, inc) x 6 (18)
Rnd 4: (sc, inc, sc) x 6 (24)
Rnd 5: (3sc, inc) x 6 (30)
Rnd 6: sc around (30)
Rnd 7: (2sc, inc, 2sc) x 6 (36)
Rnd 8-12: sc around (36)
Rnd 13: (5sc, dec, 5sc) x 3 (33)
Rnd 14: (9sc, dec) x 3 (30)
Rnd 15: (4sc, dec, 4sc) x 3 (27)
Rnd 16: sc around (27)
Rnd 17: (7sc, dec) x 3 (24)
Ss and finish off with a long tail for sewing.
Front leg
In brown
Rnd 1: 6 sc in mr (6)
Rnd 2: (inc, 2sc) x 2 (8)
Rnd 3: (3sc, inc) x 2 (10)
Rnd 4-12: sc around (10)
Stuff the leg firmly at the bottom and light at the top. Flatten the piece and crochet 5 sc through both layers to close the piece. Leave tail for sewing.
Make 2.
Thighs
In brown
Rnd 1: 6 sc in mr (6)
Rnd 2: inc x 6 (12)
Rnd 3: (sc, inc) x 6 (18)
Rnd 4: sc around (18), ss and FO leaving tail for sewing.
Make 2
Back feet
In brown
Rnd 1: 6 sc in mr (6)
Rnd 2: (inc, 2 sc) x 2 (8)
Rnd 3-4: sc around (8), ss and FO leaving tail for sewing.
Ears
In brown
Rnd 1: 6sc in mr (6)
Rnd 2: sc around (6)
Rnd 3: (2sc, inc) x 2 (8)
Rnd 4: sc around (8)
Rnd 5: (3sc, inc) x 2 (10)
Rnd 6: sc around (10)
Rnd 7: (4sc, inc) x 2 (12)
Rnd 8: sc around (12)
Rnd 9: (5sc, inc) x 2 (14)
Rnd 10: sc around (14)
Rnd 11: (6sc, inc) x 2 (16)
Rnd 12-13: sc around (16)
Rnd 14: (6sc, dec) x 2 (14)
Rnd 15: sc around (14)
Rnd 16: (5sc, dec) x 2 (12)
ss and FO with a tail for sewing
Make 2.
Inner part of ear
In dark brown
This piece is worked around a chain. Start by chaining 15. Work start in 2nd chain from the hook.
Rnd 1: sc, 2hdc, 4dc, 4hdc, 3sc, ch 1, turn and continue along the other side of the chain, 3sc, 4hdc, 4dc, 2hdc, sc
FO and leave a long tail for sewing. Make 2.
Tail
Start in beige
Rnd 1: 4sc in mr (4)
Rnd 2: (sc, inc) x 2 (6)
Rnd 3: sc around (6)
Rnd 4: (sc, inc) x 3 (9)
Rnd 5: (sc, inc, sc) x 3 (12)
Rnd 6: (3sc, inc) x 3 (15)
Rnd 7: (2sc, inc, 2sc) x 3 (18)
In the next round, we start to slowly change color. To get a nice look, alternate between 1 beige stitch and 1 brown stitch the entire round.
Rnd 8: sc around (18)
Not cut and fasten off the beige color and continue only with the brown.
Rnd 9: (5sc, inc) x 3 (21)
Rnd 10-14: sc around (21)
Rnd 15: (dec, 5sc) x 3 (18)
Rnd 16: (2sc, dec, 2sc) x 3 (15)
Rnd 17: (3sc, dec) x 3 (12)
Stuff the tail.
Rnd 18: (dec, sc) x 4 (8)
ss and FO leaving tail for sewing.
Fluff around the neck
The fluffy part around Eevees neck is made up of 4 pieces. For the front and the back, there is a bigger piece, and for each side a smaller piece is made.
Front/Back fluff
In beige
Rnd 1: 6sc in mr (6)
Rnd 2: sc around (6)
Rnd 3: (sc, 2inc) x 2 (10)
Rnd 4: (2sc, 2inc, sc) x 2 (14)
Rnd 5: (3sc, 2inc, 2sc) x 2 (18)
Rnd 6: (4sc, 2inc, 3sc) x 2 (22)
Rnd 7: 17 sc (round stops early)
Stuff the piece lightly. Fold the top and make 11 sc across through both layers of the piece to close it up.
Make 2 (one for front, one for back)
Side fluff
In beige
Rnd 1: 6sc in mr (6)
Rnd 2: sc around (6)
Rnd 3: (sc, 2inc) x 2 (10)
Rnd 4: (2sc, 2inc, sc) x 2 (14)
Rnd 5: (3sc, 2inc, 2sc) x 2 (18)
Rnd 6: 5sc (round stood early)
Stuff the piece lightly. Fold the top and make 9 sc across through both layers of the piece to close it up.
Make 2, one for each side.
Eyes
Start in black.
The eyes are worked around a chain. Start by chaining 4. The work start in 2nd chain from hook.
Rnd 1: 2sc, 3sc in last chain, turn and continue on the other side of the chain, sc, inc (8)
Rnd 2: inc, change color to dark brown, 2sc, 2inc, 2sc, change color to black, inc (12)
ss and FO. Embroider a white highlight in the top of the eye.
Make 2.
Assembly of your Eevee
My best advice to be sure you get the placement of everything correct, is to pin everything together before you start sewing anything. This will give you a feeling of where the pieces go before you start.
First attach the body to the head. The front of the head is where the increases are placed in round 14. The body is moved slightly towards the back of the head to be able to give Eevee the sitting pose without falling backwards. The exact placement should have been determined when you pinned everything together.
Next we move on to the head. Attach the eyes first. The bottom of the eyes should sit on round 13 or 14. The eyes are 3-4 stitches apart. Next move on to the ears. You can add the dark brown insides of the ears before or after attaching the ears, which to choose is a preference. I attached them before adding the ears to the head. The ears are placed on rounds 6-10 on either side of the head. I placed my ears a bit further back than the magic ring on the top of the head. To finish of the head, embroider a nose between round 14 and 15 and embroider a mouth underneath it. Also add eyebrows above the eyes.
Next move on to the limbs. The thighs are added between rounds 5-10 of the body. I have 10-11 stitches between them seen from the back of Eevee. Therefore the thighs are not placed perfectly even on the sides of Eevee, but further back. Attach the back feet to the thighs. Be sure the back feet will be on the ground when the piece is sitting.
Next add the front legs. The placement of these should be slightly diagonal to move the paws to the front, but the legs coming from either side. Be sure to place them so the paws touch the ground when Eevee is sitting (align with the back legs here!)
Next we add the fluff. The pieces are made to overlap a bit, so don’t be worried if they overlap. Start by pinning the pieces on to secure the placement. Then remove the front and back fluff and attach the fluff on the sides first. Then add on the front and back fluff and sew them on too. It is up to you if you only want to attach the sc edge, or of you want to secure the tip of the fluff too.
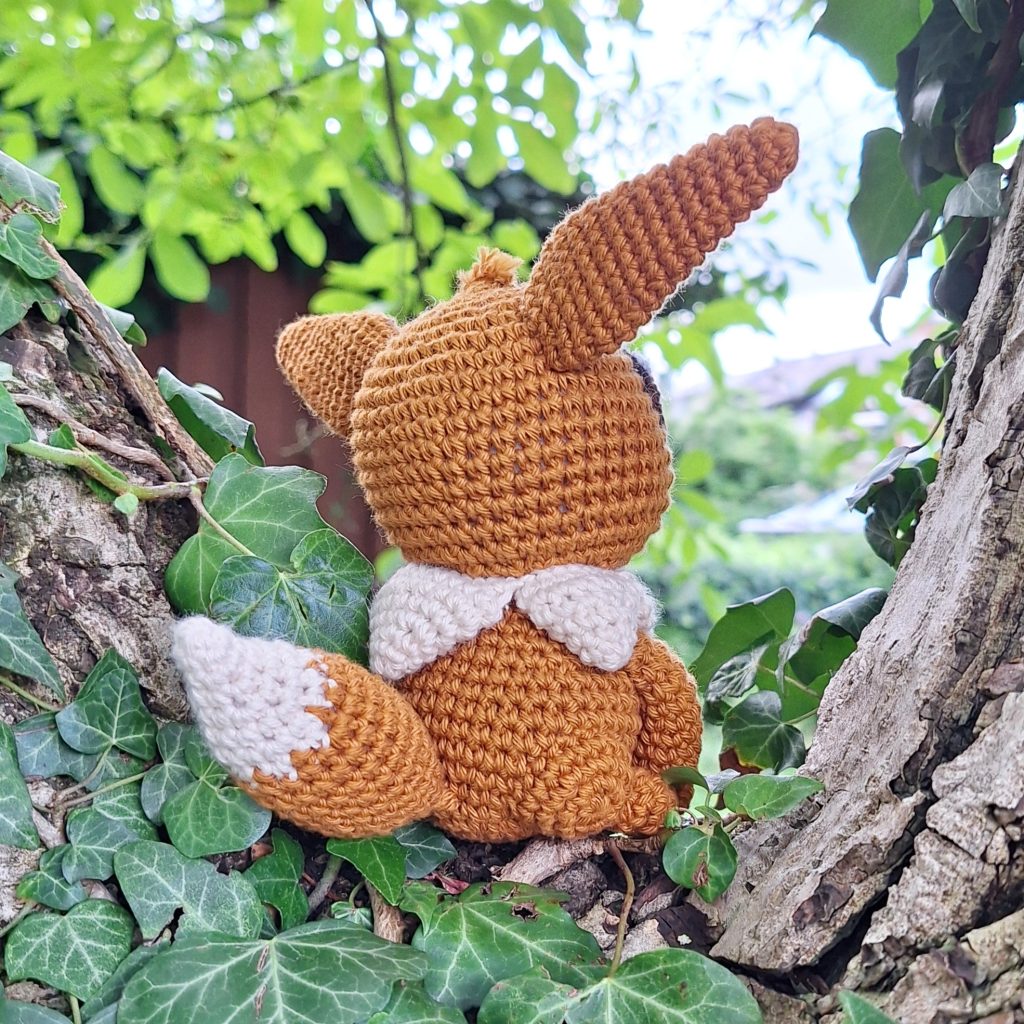
Lastly we attach the tail. The tail goes on round 5 right between the thighs. Attach it so the colorchange face down towards the ground if you edged aren’t smooth. Attach the tail at a slight angle upwards to get the best look.
It is optional, but adds a cute look to slip stitch a few strands of spare yarn to the top of the head to give the effect of hair (this technique is explained further in my Ponyta pattern). These strands can be brushed out or split to create a more fluffy effect.